
If you plan to store a kayak over the long term, then you’ll need some kind of storage system to protect it from damage that can happen over time. Leaning your kayak up in a kayak stand might be OK for a short period, but if you’re looking for a long term storage solution, it isn’t really going to cut it.
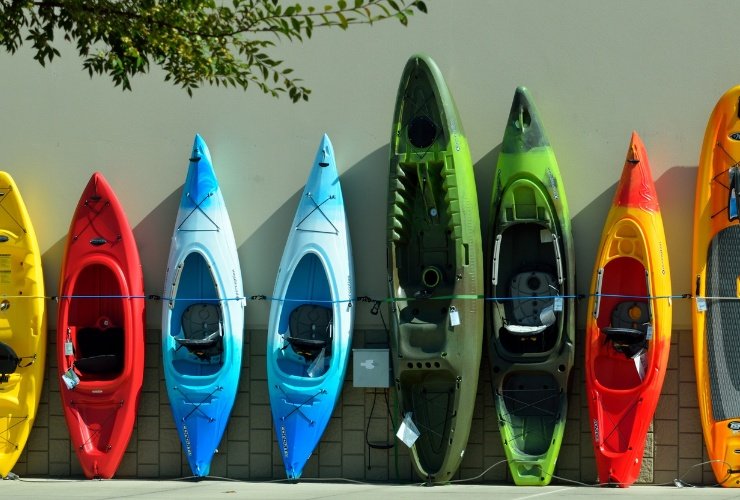
Plus, many people do not have the storage space to simply stow their boat away without tipping it up onto its nose. Storing a kayak vertically is often a space-saving measure, but if it isn’t stored correctly then it could lead to damage
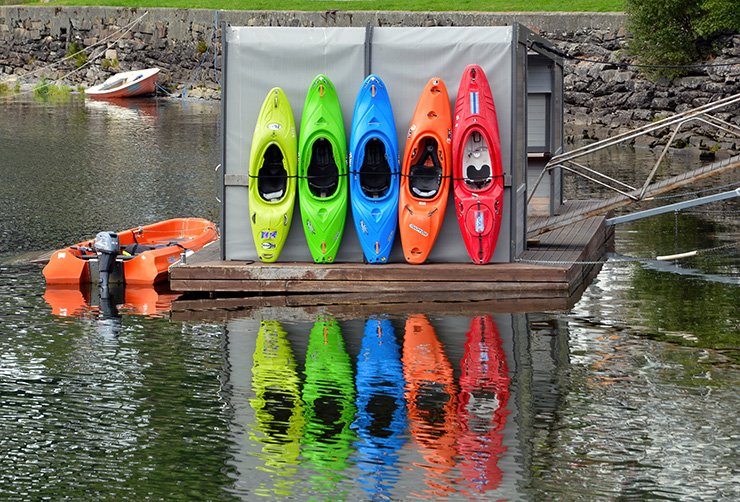
Rak systems of all kinds are available to help safely store kayaks, but if you just have one or a couple of kayaks to store, a vertical storage system can be the solution you’re looking for.
Key Takeaways
- Storing kayaks vertically is one of the more popular methods, especially with limited storage space, but you’ll need to buy or make a rack or suspension system for long-term storage.
- To make a DIY rack you’ll need wood, pipe brackets, threaded pipes, pool noodles, rubber caps, foam block, oil pans, lag bolts, and some basic tools.
- Follow the step-by-step instructions in the article to build the rack, secure it to the wall with lag bolts, and cover the pipes with pool noodles and rubber caps.
- Place your kayak on the rack and secure it with bungee cords. Use oil pans with foam padding to support the nose or tail of your kayak, and use eye bolts and bungee cords to hold it in place.
How to Use a Rack or Suspension System To Store Your Kayak Vertically
As stated, storing kayaks vertically is one of the more popular methods (especially for people with limited storage space), but you’ll need to use some kind of rack or suspension system, if you’re planning on long term storage. Simply leaving your kayak standing on a hard surface leaning against the wall causes all the weight to go onto the nose or tail and over time leads to stress fractures.
Kayaks with hulls made from plastic are especially susceptible to this.
You have the option of buying a suspension or rack system if you’re storing a kayak indoors or if you have a dedicated outdoor storage area for your kayaks. These will distribute the weight of your kayak evenly and prevent any damage from happening.
You also have the option of making your own wall rack.
How to Store a Kayak Vertically Using a DIY Wall Rack
Making your own long-term vertical storage system can be a fantastic way to minimize expenses and make the most of any storage space you have.
It’s very important that you follow the steps below as this prevents the full weight of the kayak from causing any damage to the hull (which improper storage will do).
This is an easily accessible way to store a kayak inside as all the materials here can be picked up from a hardware store or a general store.
If you have multiple kayaks then you’ll need to make one rack for each kayak you have – the materials listed above will make one DIY rack, so adjust the amount you need accordingly.
What You’ll Need
- A length of treated 2×4
- 2 galvanized pipe brackets
- 2 pieces of 18-inch threaded pipe
- Rubber caps
- Pool noodles (long enough to cover both pieces of pipe)
- Foam or rubber padding
- Rubber-bottom (non-slip) oil-change pan
- 2 x lag bolts (long enough to affix to wall studs)
- 2x eye bolts
- Bungee cord
Step 1: Measure Your Kayak
The first thing you’ll need to do is measure your kayak from nose to tail. This determines how high up the wall you’ll want to place your bracket.
- If you’re storing indoors then you’re going to want to check to see that the room has enough space to fit your kayak in vertically. A small garage that’s only 10 feet isn’t going to accommodate a 16-foot kayak vertically.
- This may seem obvious but it can be very easy to forget if you’ve placed your kayak on its side.
- These measurements will come in handy later when you attach the 2×4 wood to the wall.
Step 2: Take the 2×4 Wood and Attach The Pipe Brackets
Take your wood and the pipe brackets – the brackets are fairly small and have holes that can be used for screws around the perimeter.
- Put the pipe bracket on the left and right ends of the wood so they’re facing up toward you and screw them into place.
Step 3: Screw The Threaded Pipe Into The Sides
Take your two pieces of 18-inch threaded pipe and screw them into the pipe brackets. The threads should slot nicely into the brackets and you should be able to screw them on tightly without too much trouble.
Step 4: Put Pool Noodles on Threaded Pipe and Cap Them
Your pool noodles should cover the threaded pipes from top to bottom with a small amount of space at the end.
- You can take the rubber caps and then place them on top of the threaded pipe – use a silicone seal to make sure these caps don’t come off.
- The caps will hold the pool noodles in place and stop your DIY kayak wall racks from coming apart.
Step 5: Seal Your Foam or Rubber Block Onto The Wood
Take your foam block or rubber padding and fix it onto the middle of the 2×4 treated wood.
- You can use a silicone seal to fix it to the bottom.
- Don’t worry about it being perfectly level – you can check with a spirit level if you want but it doesn’t need to be perfect.
- You can use the foam part of a kayak roof rack instead of a piece of foam or rubber padding. There are plenty of general stores that have these (like Walmart).
Step 6: Lag Bolt Your DIY Vertical Storage Rack
The best way to fix your rack onto the wall is to use lag bolts (sometimes known as coach screws). These can support the weight of a kayak easily without the risk of it falling off the wall.
- You’ll want to put your rack up to the point after the Kayak starts to narrow to either the nose or tail (depending on which way you stand it up).
Step 7: Set Up The Bottom Supports
Take the oil change pans with nonstick rubber bottoms and place the foam padding in the oil pans.
- This prevents the kayak from taking all weight to the nose or tail (which will damage it).
- It also prevents the kayak from sliding forward and coming down from the wall.
- It also makes the kayak take up the minimum amount of floor space – as you can bring it closer or further from the wall depending on how much space you have.
Step 8: Secure With a Bungee Cord
You can use studs to fix eye bolts to your wall and then run a bungee cord through the holes.
- The bungee cord will hold the kayaks in place and ensure they don’t slide off the rack or fall off the wall.
- You can fix your eye bolts around the sides of the middle of your kayak, this gives it the most support.
Storing Your Kayak Accessories
Storing kayak accessories is really easy. Some people place a blanket or sheet on the floor and wrap their paddles and other accessories so everything is in one location. Others opt for tailored solutions, like using padded cradles or mounting clamps to bolt their paddles to the wall (solutions normally used in suspending a kayak from the ceiling).
Storing Inflatable Kayaks
Inflatable kayaks are incredibly easy to store, as they can be deflated, put into a car, in a garage, or in some cases, even a backpack. You can store inflatable kayaks for long periods, and they don’t take up much space indoors.
There’s no need to purchase or make a kayak rack of any kind as long as the inflatable kayak is protected from any sharp edges that can pierce or cut the material on the hull open.
Conclusion
There are a few steps to learning how to make your own kayak storage rack, but they are cheap to make and serve as an excellent way to store your kayak properly over the long term.
Thank you for reading and if you found any of the content here helpful then please like, comment, and share.