
Whether you’re moving or needing to ship your kayak across the country to a distant location, there are some simple steps to follow to ensure this process goes as smoothly as possible.
This guide will explain everything you need to know to ship your kayak as securely as possible and help you decide if it’s the best option.
However, before you start on these steps, there are some things to consider first.
Key Takeaways
- Shipping your kayak across the country or overseas can be stressful but there are ways to make the process simpler.
- First, research a shipping company that specializes in large cargo to keep shipping costs low. Check for any hidden fees or special requirements.
- Take time to properly prepare and package your kayak by measuring, weighing, wrapping, and labeling it.
- It’s important to inspect the kayak for any damage upon arrival before you sign off on the delivery.
- If your kayak is not worth more than the shipping cost or if it’s not very valuable or sentimental, it’s better to sell and replace it instead.
Before You Begin – Choosing a Shipping Company
If you’re moving a long way away or potentially overseas, then transporting a kayak on top of a car may not be the best option. If this is you, then your first step is to decide what kind of shipping company you need to use.
Researching a shipping company specializing in transporting larger cargo will help keep shipping costs down. Companies like UPS will class kayaks as “oversized cargo,” which means you’ll pay a lot more than you should, as these companies typically deal with shipping small packages.
In some cases, there might even be more local or regional shipping companies in your area that specialize in shipping larger sports equipment – but always check online reviews and check for licenses to make sure the company is legitimate
In a nutshell, choosing the right shipping options can save money in the long run.
What You’ll Need To Ship Your Kayak
- Cardboard box or wooden crate
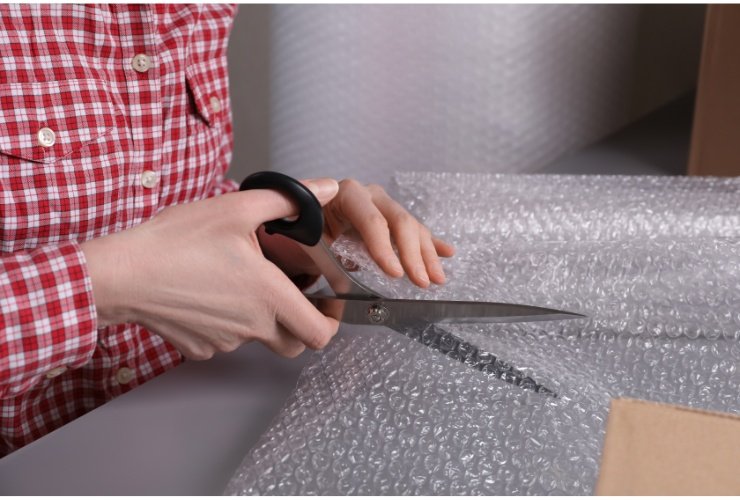
- Bubble wrap
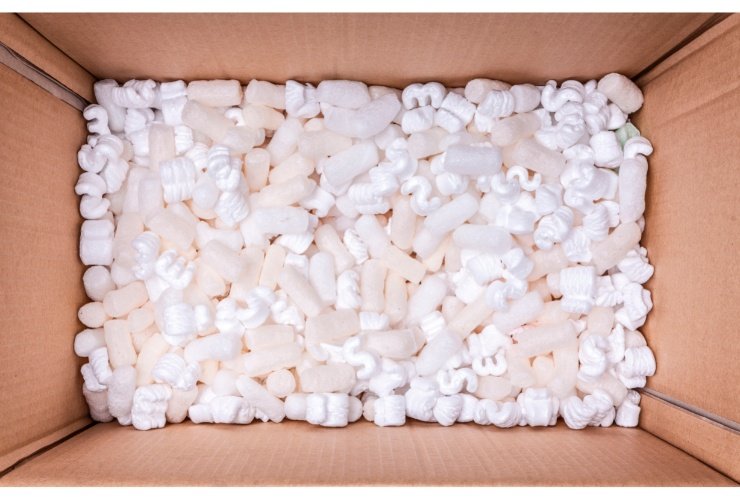
- Packaging foam
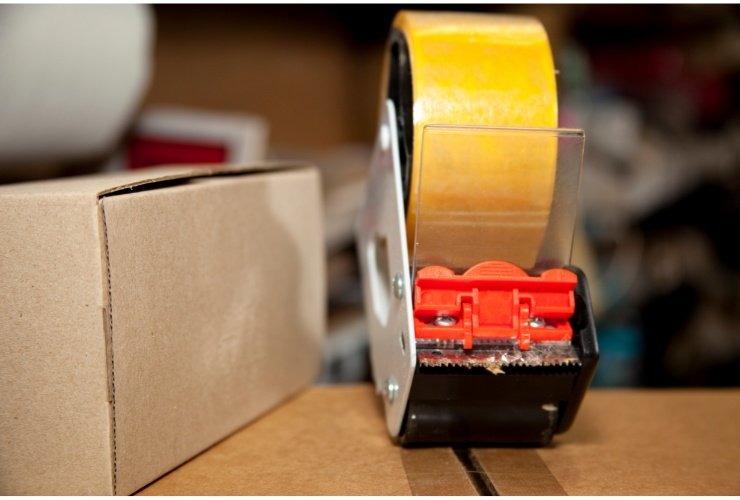
- Packing tape (for cardboard box packing)
- Staples or nails (for wooden crate packing)
- Shipping Labels
Six Steps to Ship Your Kayak
Following these six steps, in order, will ensure that your kayak is shipped safely and arrives at your new location in the condition it was packaged. There are some preparations to make before you hand over your kayak to a shipping company.
The steps below are in the order that you need to do everything.
Step 1: Measure and Weigh Your Kayak
Start by using a tape measure or whatever measuring tool you have available to get your kayak’s length, width, and height. Double-check your dimensions because it’s arguably the most critical information you’ll need for the rest of the steps.
You’ll also need to weigh your kayak, a lot of shipping companies will charge based on the total weight of the package (which includes not just the kayak but also anything you use to package it).

Step 2: Decide on Using Cardboard or Wooden Crates
The next thing you’ll need to decide on is the type of shipping container – the two usual options are cardboard boxes and wooden cases.
- Wooden crates are sturdier and offer more protection but will increase the weight and shipping cost.
- Cardboard boxes are lighter but provide less protection but will be the cheapest option.
It is not necessary to use a wooden crate; a cardboard box will offer plenty of protection. However, if you have a more expensive kayak, it might improve your peace of mind if you feel it is more secure with a wooden crate.
Finally, take those kayak dimensions and choose a box or crate with two or three inches of room on each side. This gives you plenty of space for padding and any other packing items, plus your wrapped kayak.
Step 3: Wrap Your Kayak
You can wrap your kayak with either bubble wrap or plastic sheeting (but you should only use sheets if you’re going to fill the spaces with packing foam – otherwise, your kayak will rattle around).
You can wrap your kayak by taking the bubble over the top of your kayak and then making sure the wrapping material hangs over by at least half of the width of the kayak. You can then fold this over the ends and stick the wrapping together with packing tape.
There’s no exact or perfect method to this, and if you’ve never done it before, you might want to make sure you have more plastic sheeting or bubble wrap than you’ll think you’ll need.
It’s also easier to wrap your kayak close to whatever shipping container you’ll be using (so you don’t have to transport it to the container).
Step 4: Place Your Kayak in Your Box or Crate
Before moving your kayak into the box place a layer of packaging foam in the bottom – this stops your kayaking from jumping around in transit.
You may or may not need someone to help you lift your kayak and place it into the crate or box; you might have to take it a bit slower and more carefully if you’re using cardboard to avoid flattening the box or damaging the edges.
Place your kayak as close to the center of the shipping container as possible. Fill any space with packing foam – you might find you have to use a bit more of this, if you used plastic sheets instead of bubble wrap.
If you run out of packing foam, you can use anything on hand that can act as padding – old bed sheets, cushions, even newspapers can be used to secure your kayak.
Step 5: Seal Your Container and Apply Shipping Labels
If you’re using a cardboard box, close up the lid with tape. If you’re using a wooden crate, you might need to either screw the lid on or use nails to seal it.
The shipping company you’ve chosen should supply you with a shipping label containing important information and a secondary label marking the container as having fragile contents.
Shipping companies handle a lot of cargo, so it’s important to use labels that tell the company not to stack stuff on your crate or box or signal that contents are fragile.
The other benefit is these labels act as insurance – if your kayak is damaged in transit and you’ve taken extra precautions, then the delivery company is liable for the damage.
Step 6: Organize a Shipping Day and Inspect the Kayak When It Arrives
Organize a day with your chosen shipping company – if you’re using a larger organization, this may be as simple as booking slots online. If you’re going with a smaller or local shipper, you’ll likely have to give more precise instructions.
Finally, it’s important to inspect the kayak when it arrives – if you find damage after you sign off on the delivery then the shipping company you used is no longer liable. Double-check for any stress fractures on the hull before you sign anything off.
How Much Will It Cost to Ship a Kayak?
Kayak shipping costs will vary, but usually, you shouldn’t be paying anything over $300. You should always get a quote from the company you decide on using before agreeing to anything; this prevents them from adding any hidden fees.
While $300 is a reasonable price ceiling, you should also be aware that other factors affect the price – distance, whether or not you’re shipping to a commercial or private address, and if it requires any special equipment to move the kayak from the truck to the delivery address.

Is It Worth It to Ship a Kayak?
Sometimes it’s not always the best idea to start shipping kayaks around. If your kayak isn’t worth more than you’d pay to ship it, it might be better to sell your old kayak and buy another one.
Most kayakers will go through more than one kayak over a lifetime, but if your kayak is very expensive and specialized or holds great sentimental worth, it’s a good idea to ship it with a freight carrier.
Conclusion
Shipping your kayak requires a little prep and research before you do anything. However, the steps above outline everything you need to know to keep stress to an absolute minimum. If you own a kayak under $300, selling it and replacing it with another one at your new location may be a better option.
Thank you for reading; please like, comment, and share if you found any helpful information here