
Blisters on the hands are one of the most common kayaking injuries. Most kayakers will come into contact with friction blisters of some kind. So, what should you do to prevent blisters, and what should you do if you get blisters? This guide will cover everything you need to know.
Key Takeaways
- Blisters are caused by friction and heat between the hand and the paddle and can lead to infection if not treated properly.
- To prevent blisters, choose the right size paddle, have a proper grip, and wear paddling gloves.
- To treat blisters, cover them with non-adhesive padding or plasters, and pop them with a sterilized needle if necessary.
- Seek medical attention if there are signs of infection, such as pus, discharge, or fever.
What Causes Blisters on Your Hands When Kayaking?
The most common cause of blisters is friction or heat as these forces’ impact causes the skin’s upper layer to break away and fluids collect in the space to fill the pocket.
When kayaking, friction, and heat are present around the hand when handling the paddle. Gripping the paddle too tightly, ill-fitting gloves, and poor technique can all cause painful blisters to appear.
Blister Prevention Guide
There are some basic things you can do to minimize your chances of getting blisters.
However, it’s important to note that you can do everything right and still get blisters on your hands. This is especially true if you’re new and your hands aren’t used to the pressure and gripping motion on a paddle.
If you’re new to kayaking and you have blisters, the section at the bottom of the guide details how to treat these properly.
If you’re a kayaking veteran and you’re constantly getting blisters, that’s usually that one of several things are going wrong: you either need a better paddle, you need to change your hand position, or you can invest in some good kayaking gloves to protect your hands.
Choose the Right Kayak Paddle

You’ll want to choose the right size paddle for your height.
This is important because a paddle that’s too long for you will cause you to have a “death grip” which simply means you’re gripping the paddle shaft too tightly, and this will cause unnecessary friction and lead to blisters.
A paddle that is too short may also cause your hands to work extra hard, this could make your grip slip more than usual, and this can also cause blisters.
If you want to learn more, have a look at this guide on choosing the correct kayak paddle length for your size.
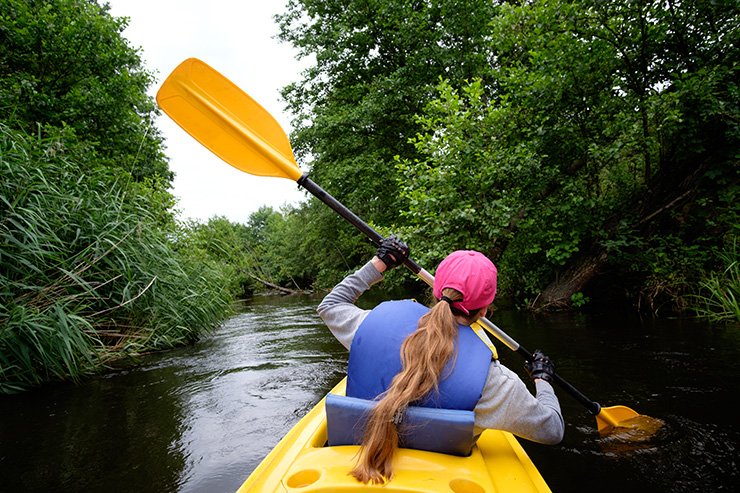
Use Proper Hand Position When Paddling
It goes without saying, but proper paddle grip is key to preventing blisters.
Holding the paddle in a comfortable but sturdy grip minimizes the potential conditions for blisters to happen – mainly, it will reduce friction.
Generally speaking, good hand position on a kayak paddle usually looks like the following:
- Hold your paddle out in front of you horizontally.
- Space your hands out so that they are a little bit more than shoulder-width apart.
- If you have a paddle that is rounded or concave, the round part should be facing you.
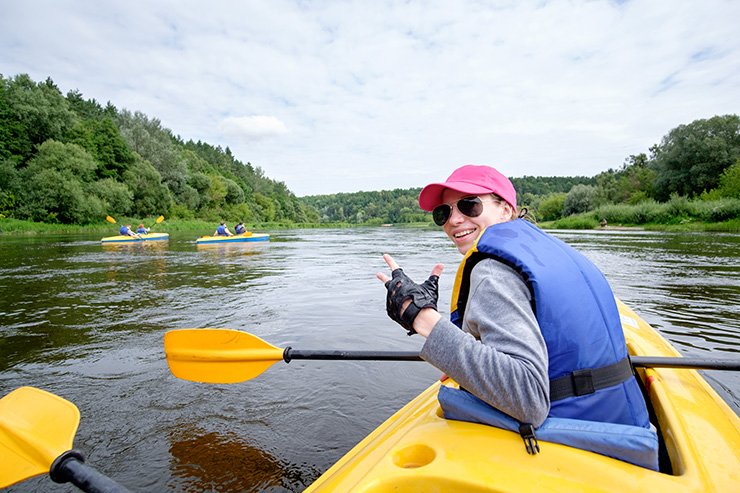
Use Good Quality Kayak Gloves To Prevent Blisters
You’ll want to wear gloves designed for kayaking – these are referred to as paddling gloves and sometimes known as “pogies.”
These are available in most outdoor stores in various colors and designs.
Paddling gloves are perfect for anyone, no matter their skill level. They will help keep your hands dry and protect them from the smooth surface of the paddle that can cause friction.
They also help your hand’s joint and ligament health by making it less likely you’ll hold your paddle in a crushing grip.
How to Treat Hand Blisters from Kayaking
Sometimes, it doesn’t matter how well-prepared you are, blisters happen, and you need to take steps to treat them.
Treating blisters prevents any infection from setting in, and it also means your blisters heal as quickly as possible, mitigating any effect they would have on your kayaking enjoyment.
Generally speaking, blister treatment comes in three steps:
- Step 1 assess
- Step 2 treat
- Step 3 seek medical assistance (if your blisters get serious)
Assess Your Blisters
Blisters usually come in three grades – developing, intact, and broken.
- A developing blister is usually just red, irritated skin that is slightly painful to touch. You can cover this with non-adhesive padding and then use waterproof tape to secure it. This reduces friction and keeps the affected area dry.
- An intact blister is what most people imagine; a blister filled with trapped fluid. It’s usually better to leave this intact unless it’s causing you severe discomfort.
- A broken blister is a popped blister and an open wound. These should be treated seriously as they can cause infection.
Clean, Disinfect, and Cover Your Blister
While developing blisters were covered above, intact blisters (grade 2) and broken blisters (grade 3) should be cared for differently.
Treat blisters that are intact by making a donut-shaped pad around the blister with non-adhesive foam.
Or you can use a bandage to protect the blister, but it must stay dry.
Do not cover it with just a glove because that will get the blister wet (from sweat) and most likely rupture.
To drain or pop an intact blister, do the following:
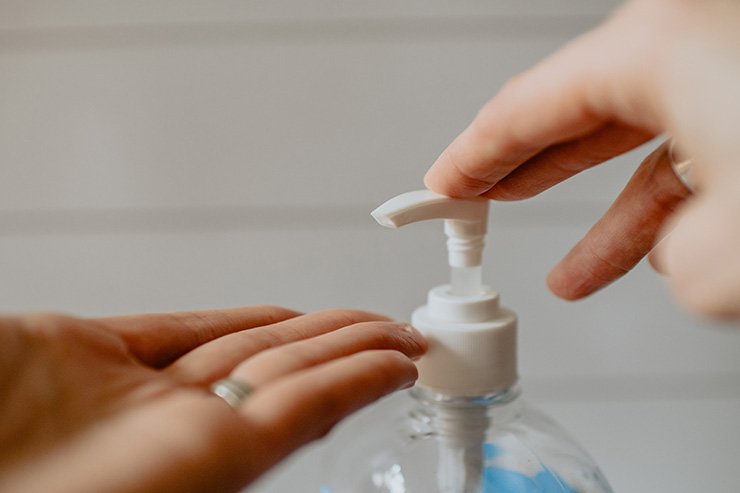
- Wash your hands thoroughly and use a rubbing alcohol solution.
- Use a small sterilized needle or unused pin – you can sterilize it with rubbing alcohol.
- You’ll want to pop the blister from underneath, through healthy skin and not through the dead skin (so if there’s healthy skin to the side of the blister, you’ll want to penetrate it from there).
- The above is important to follow because it minimizes the chance of infection.
Treat broken blisters with the following steps:
- Thoroughly wash your hands and wash the affected area to remove as much dead skin and debris from the broken blister as possible.
- Soak the blister in warm water.
- Cover the blister with a plaster – to protect the wound from moisture and infection.
- Check your blister for any signs of infection.
When To Seek Medical Attention

If there is any odd pus or discharge from your blister (especially a broken blister) and you feel sick, it’s time to get medical attention.
You’ll want antibiotics to clear up any infection and generally prevent much pain and discomfort.
If you have a stage 3 blister (or a broken blister), you’ll want to observe it and be very careful when using the affected hand, as it’s technically an open wound.
Conclusion
While any kayaker can get blisters, as long as you follow the tips above, you will minimize your chances of these happening frequently.
Treating blisters that have happened is important, but they are common injuries, and even the worst blisters will heal in time.
Thank you for reading. If you found the information here helpful, then please like, comment, or share it with anyone else who might find it useful.